
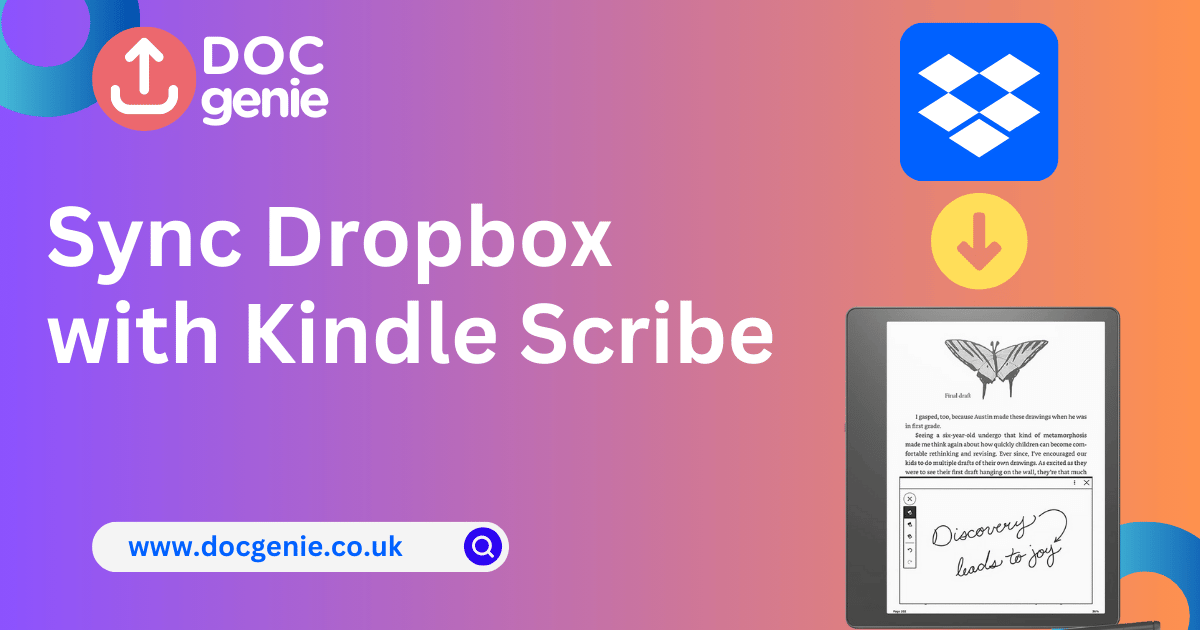
The Kindle Scribe is an incredible device for readers, students, and professionals alike. However, its note-sharing options have been somewhat limited—until now. Doc Genie bridges the gap, allowing seamless sharing of notes and documents from your Kindle Scribe to cloud storage platforms like Google Drive, OneDrive, and Dropbox. This post will guide you through the process of syncing Dropbox with Kindle Scribe using Doc Genie.
Step-by-Step Guide: Sharing Kindle Scribe Notes to Dropbox
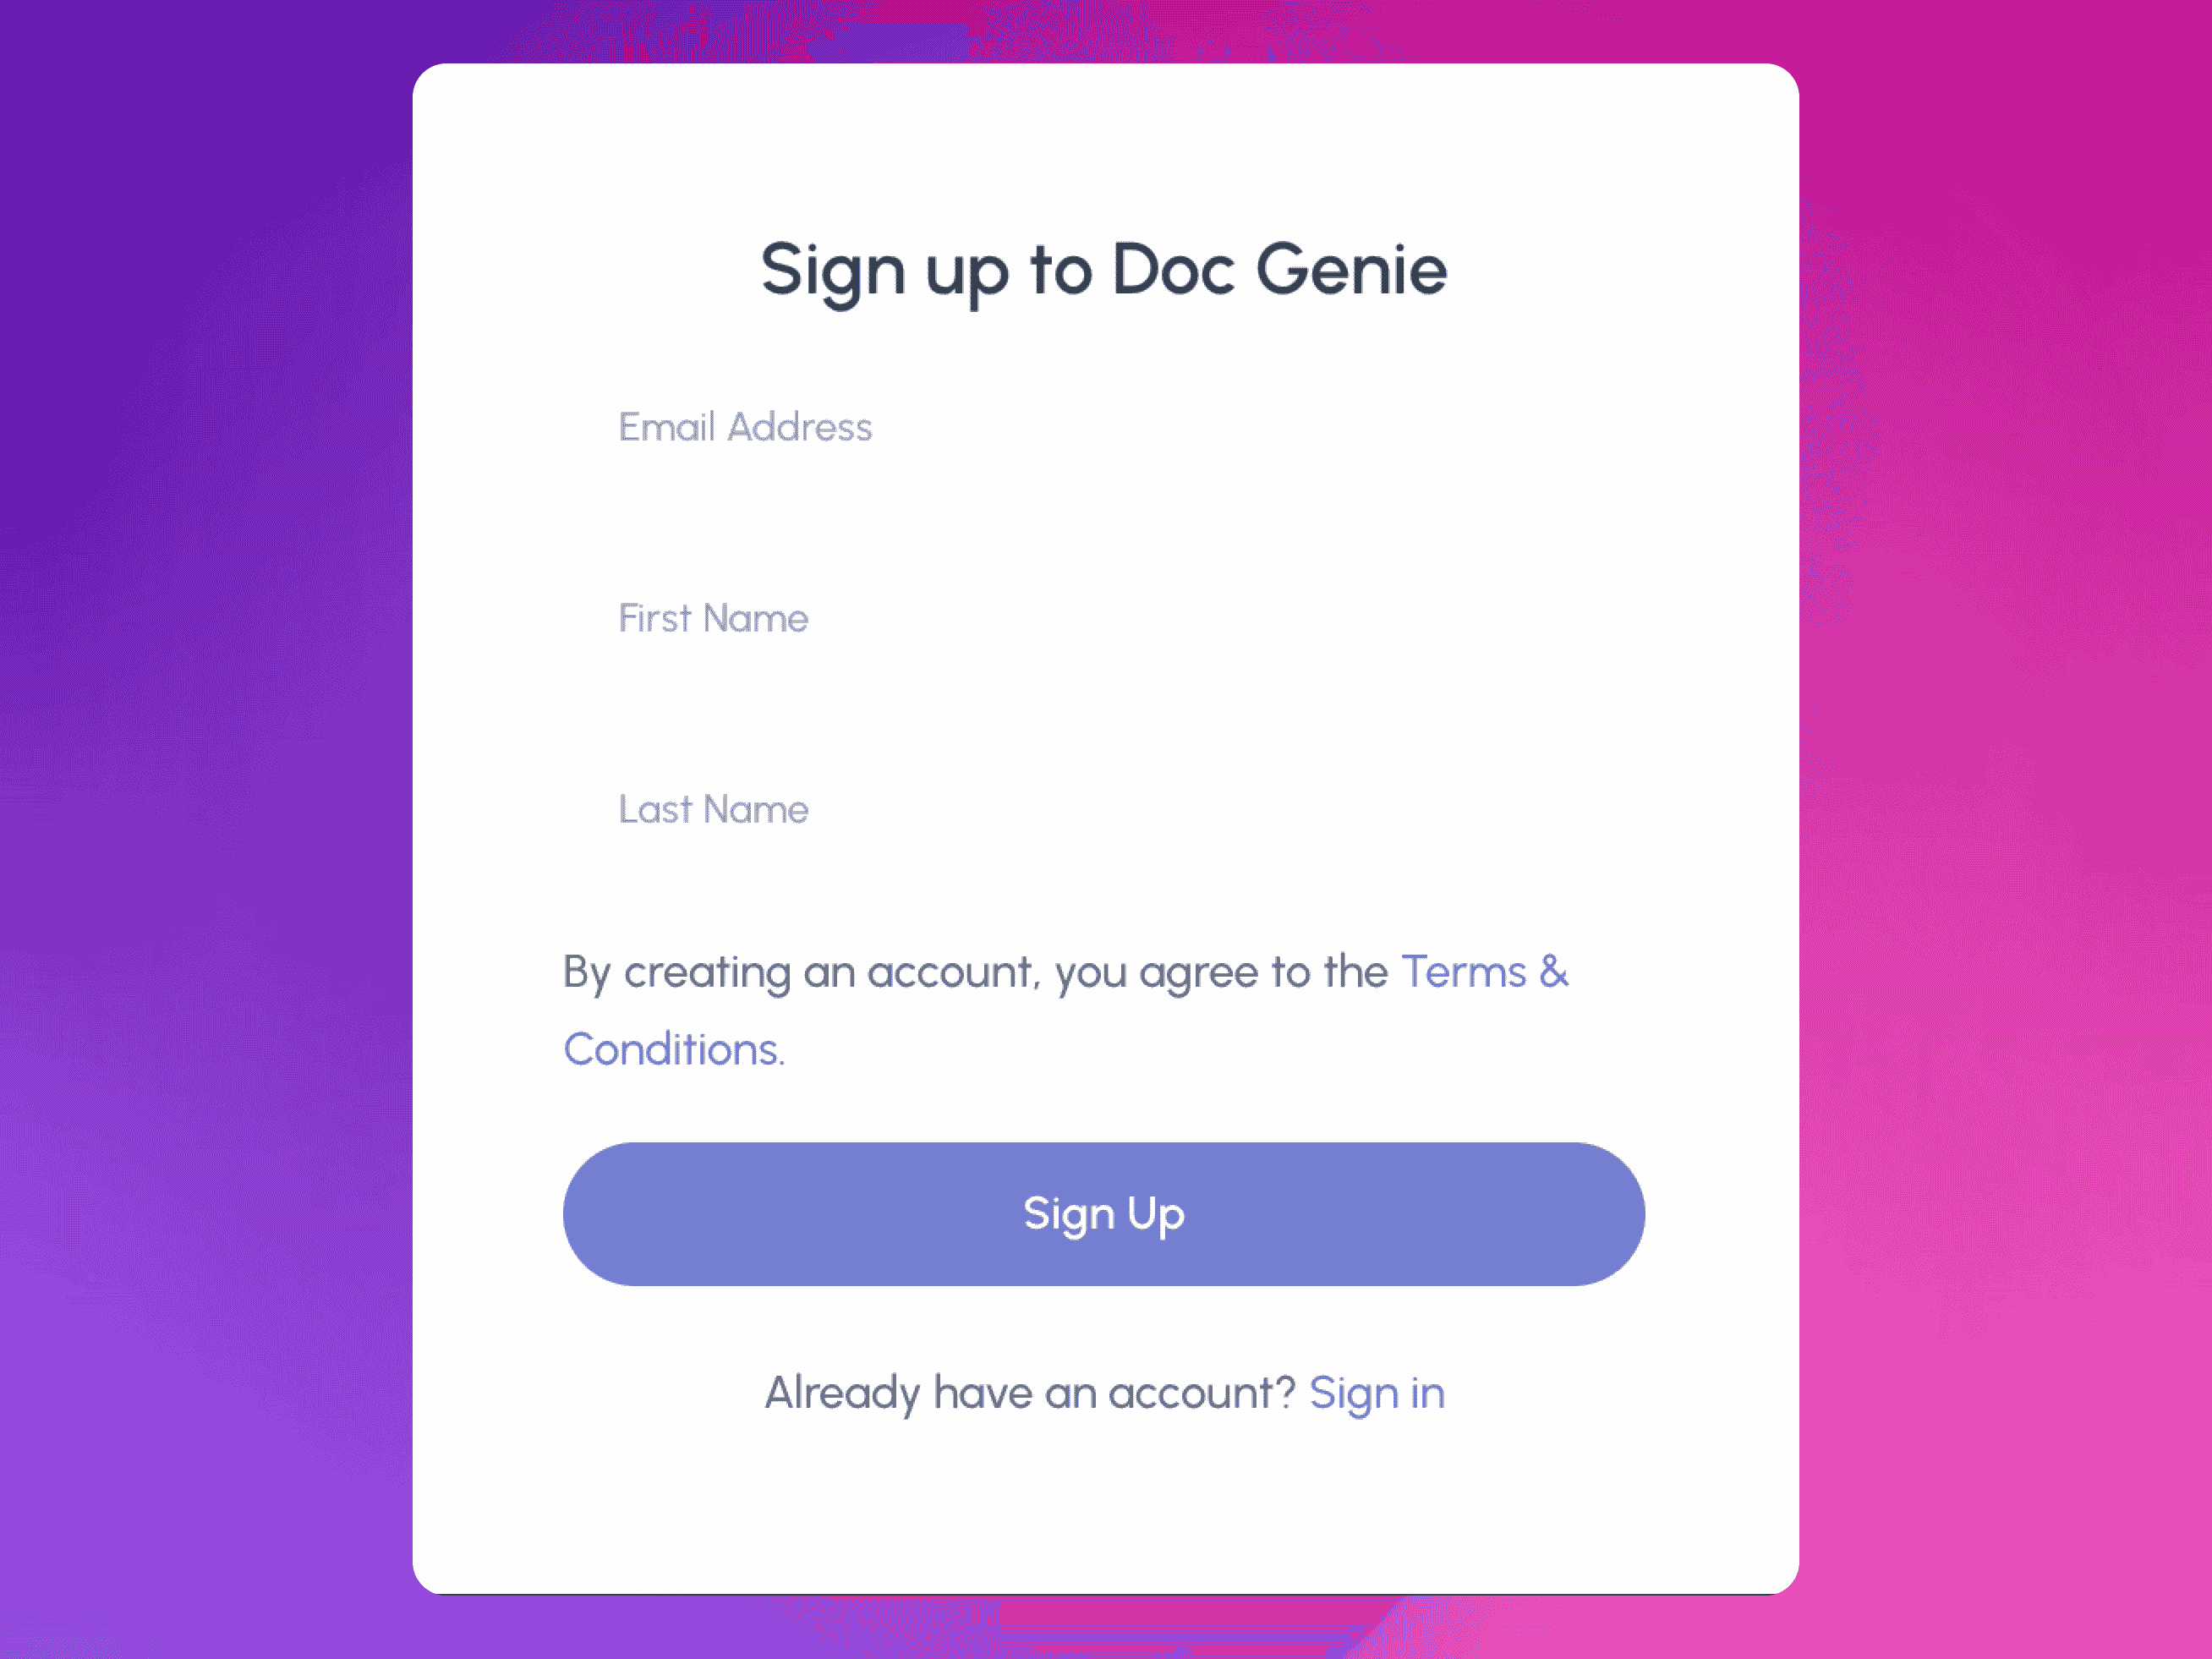
Step 1: Register for a Doc Genie Account
Visit Doc Genie’s website and create a free account. Once registered, log in to your account to begin setting up cloud storage integration.
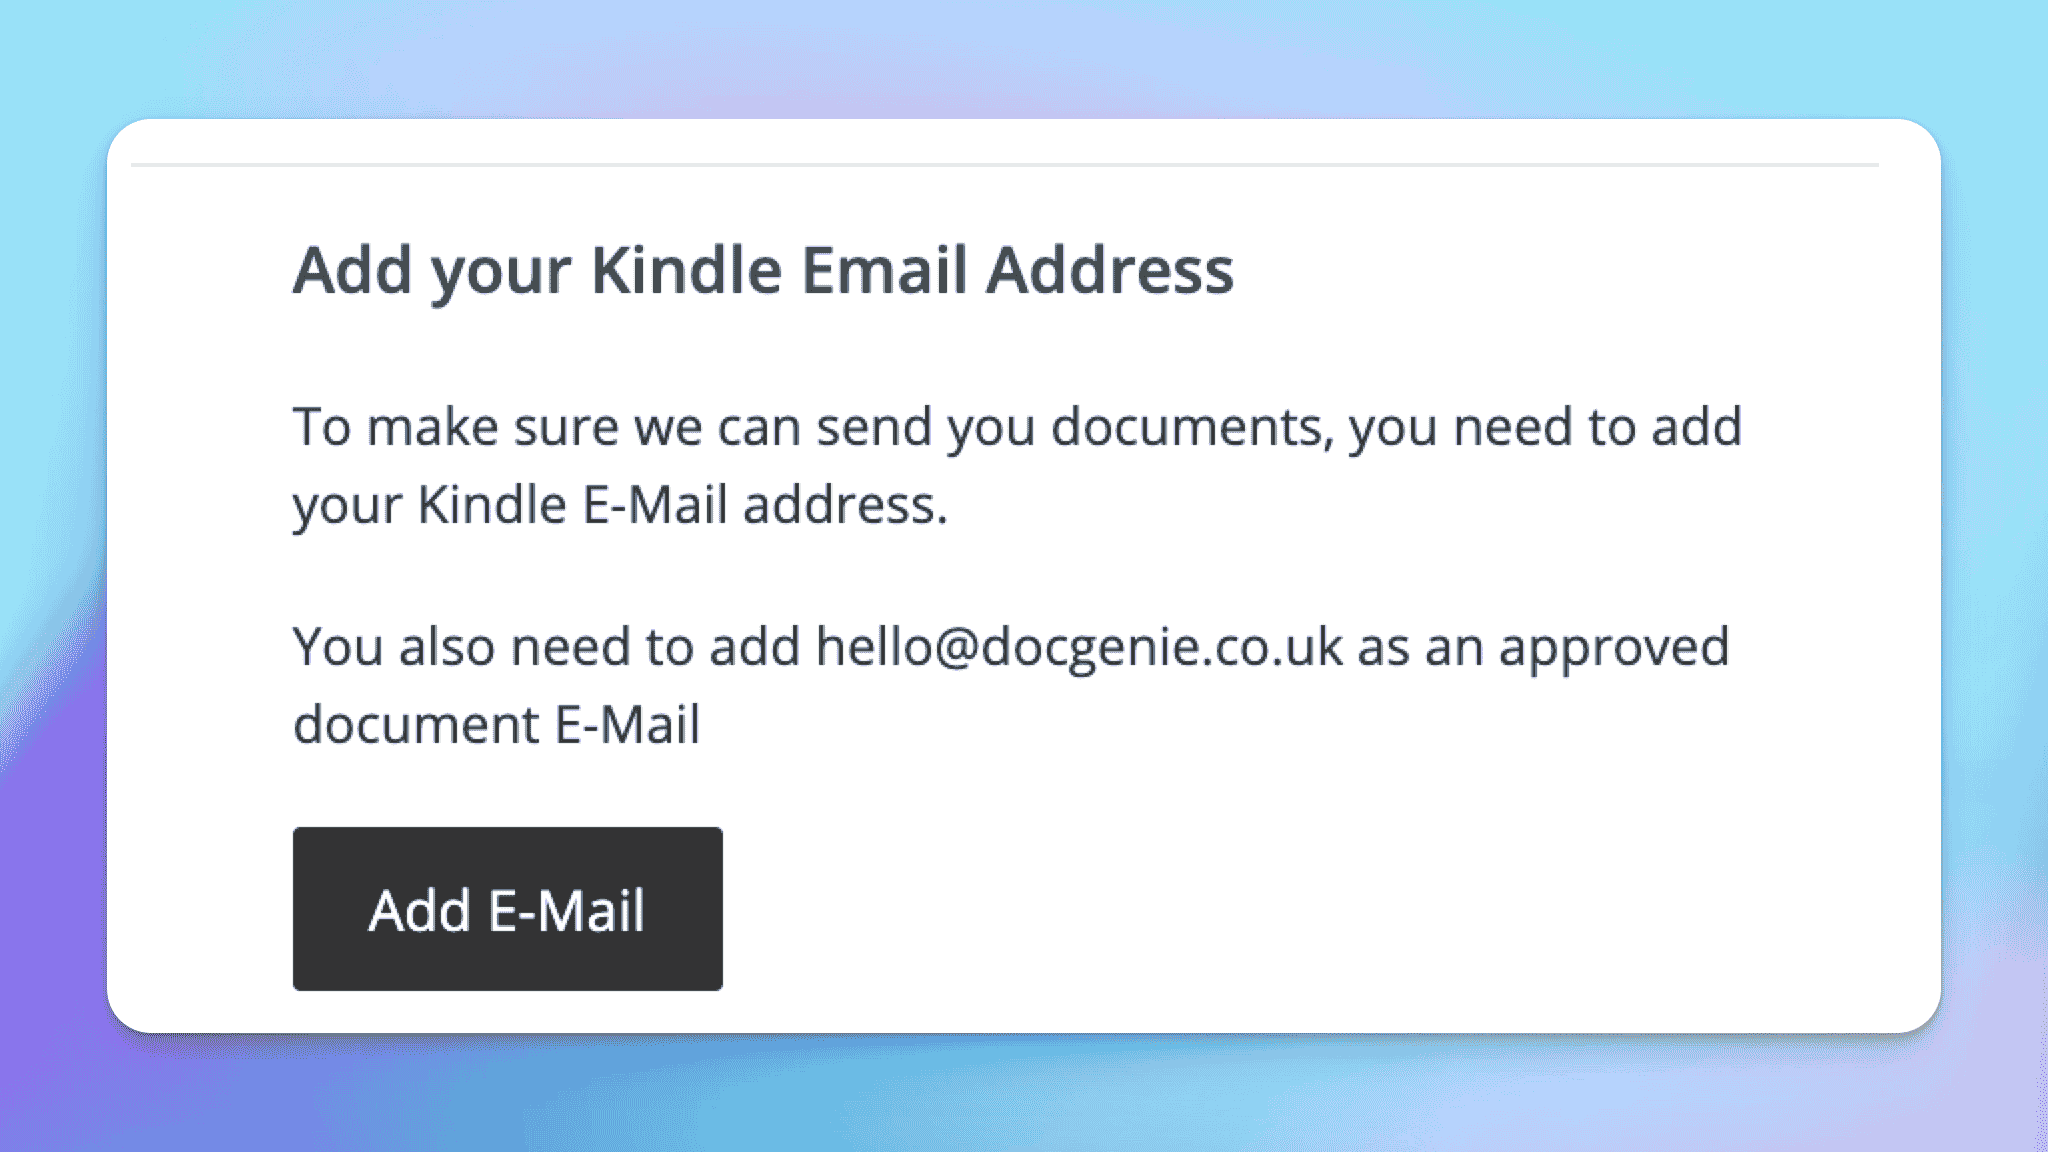
Step 2: Add sync@docgenie.link to Your Amazon Account
1. Log in to Your Amazon Account
• Visit Amazon’s Manage Your Content and Devices page and sign in.
2. Navigate to Preferences
• Once logged in, click on the Preferences tab at the top of the page.
3. Locate Personal Document Settings
• Scroll down to the section labeled Personal Document Settings.
4. Add a Verified Sender Email
• Under this section, find the option to add an approved email address.
• Add sync@docgenie.link to the list of approved email addresses.
5. Save Changes
• Ensure that you save the changes to update your settings.
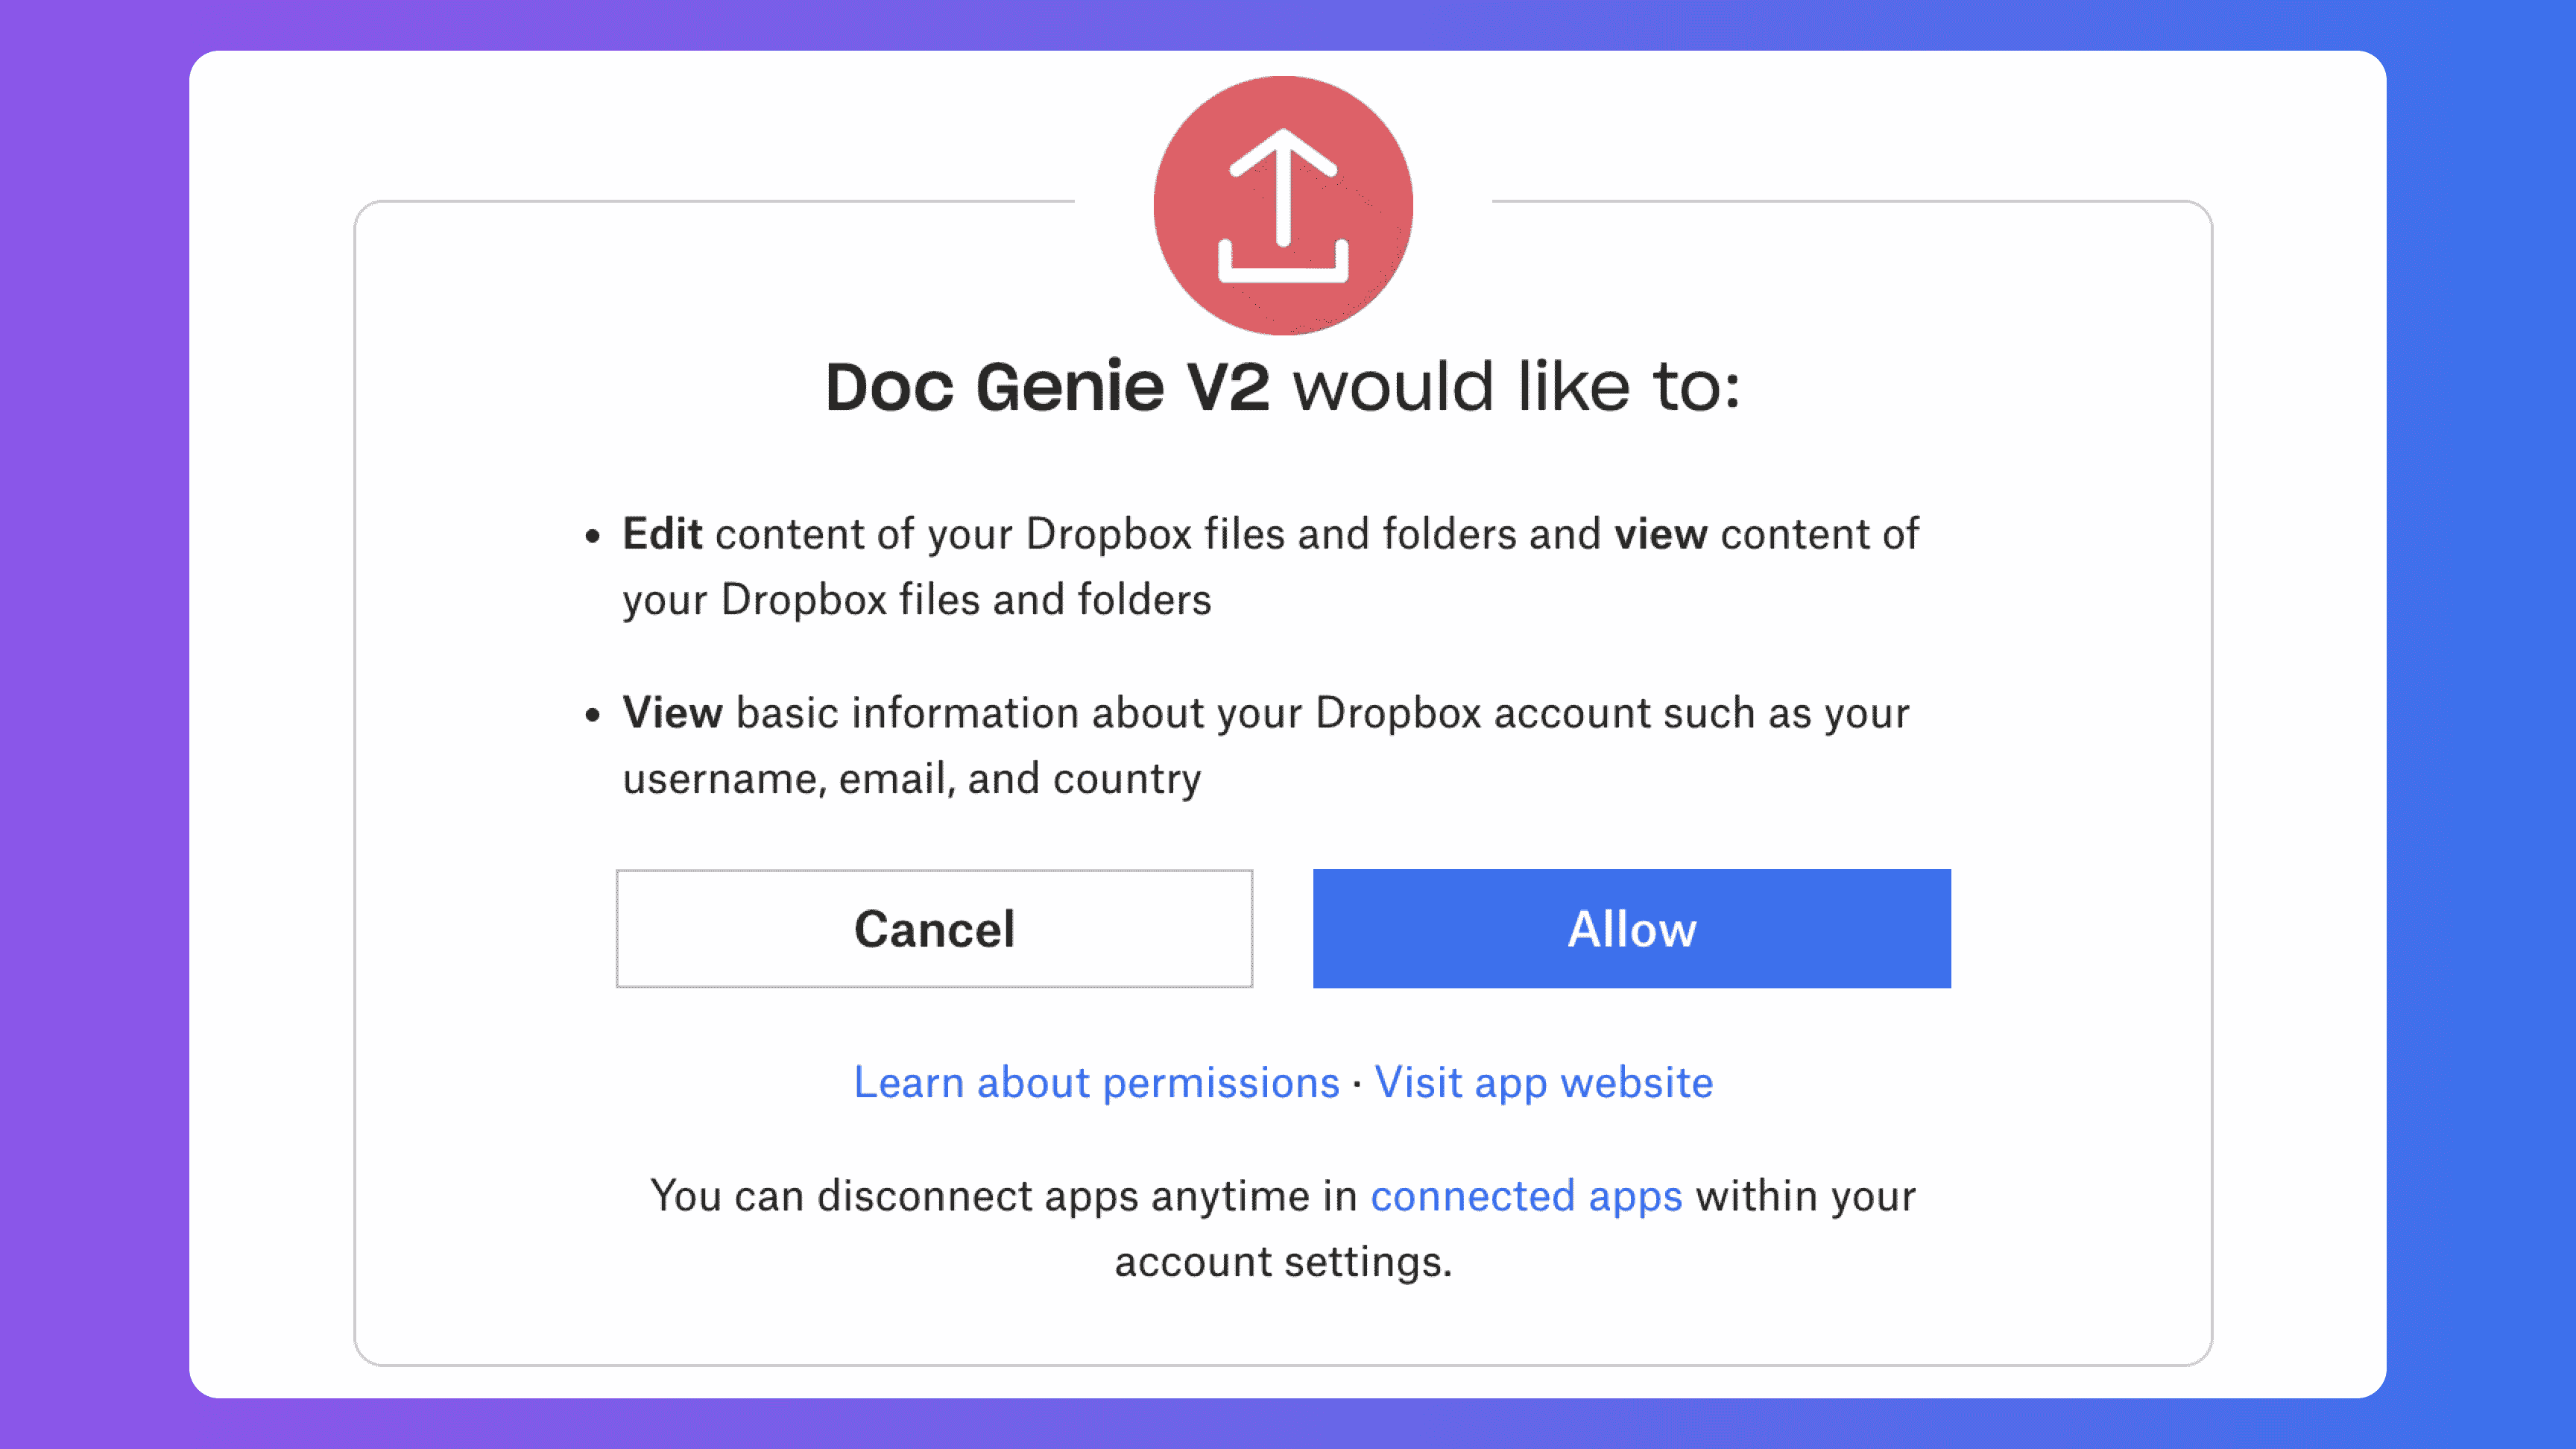
Step 3: Link Your Dropbox Account
• Navigate to the Cloud Sync section in your Doc Genie dashboard.
• Select “Connect Dropbox.”
• Follow the prompts to securely authorize Doc Genie to access your Dropbox.
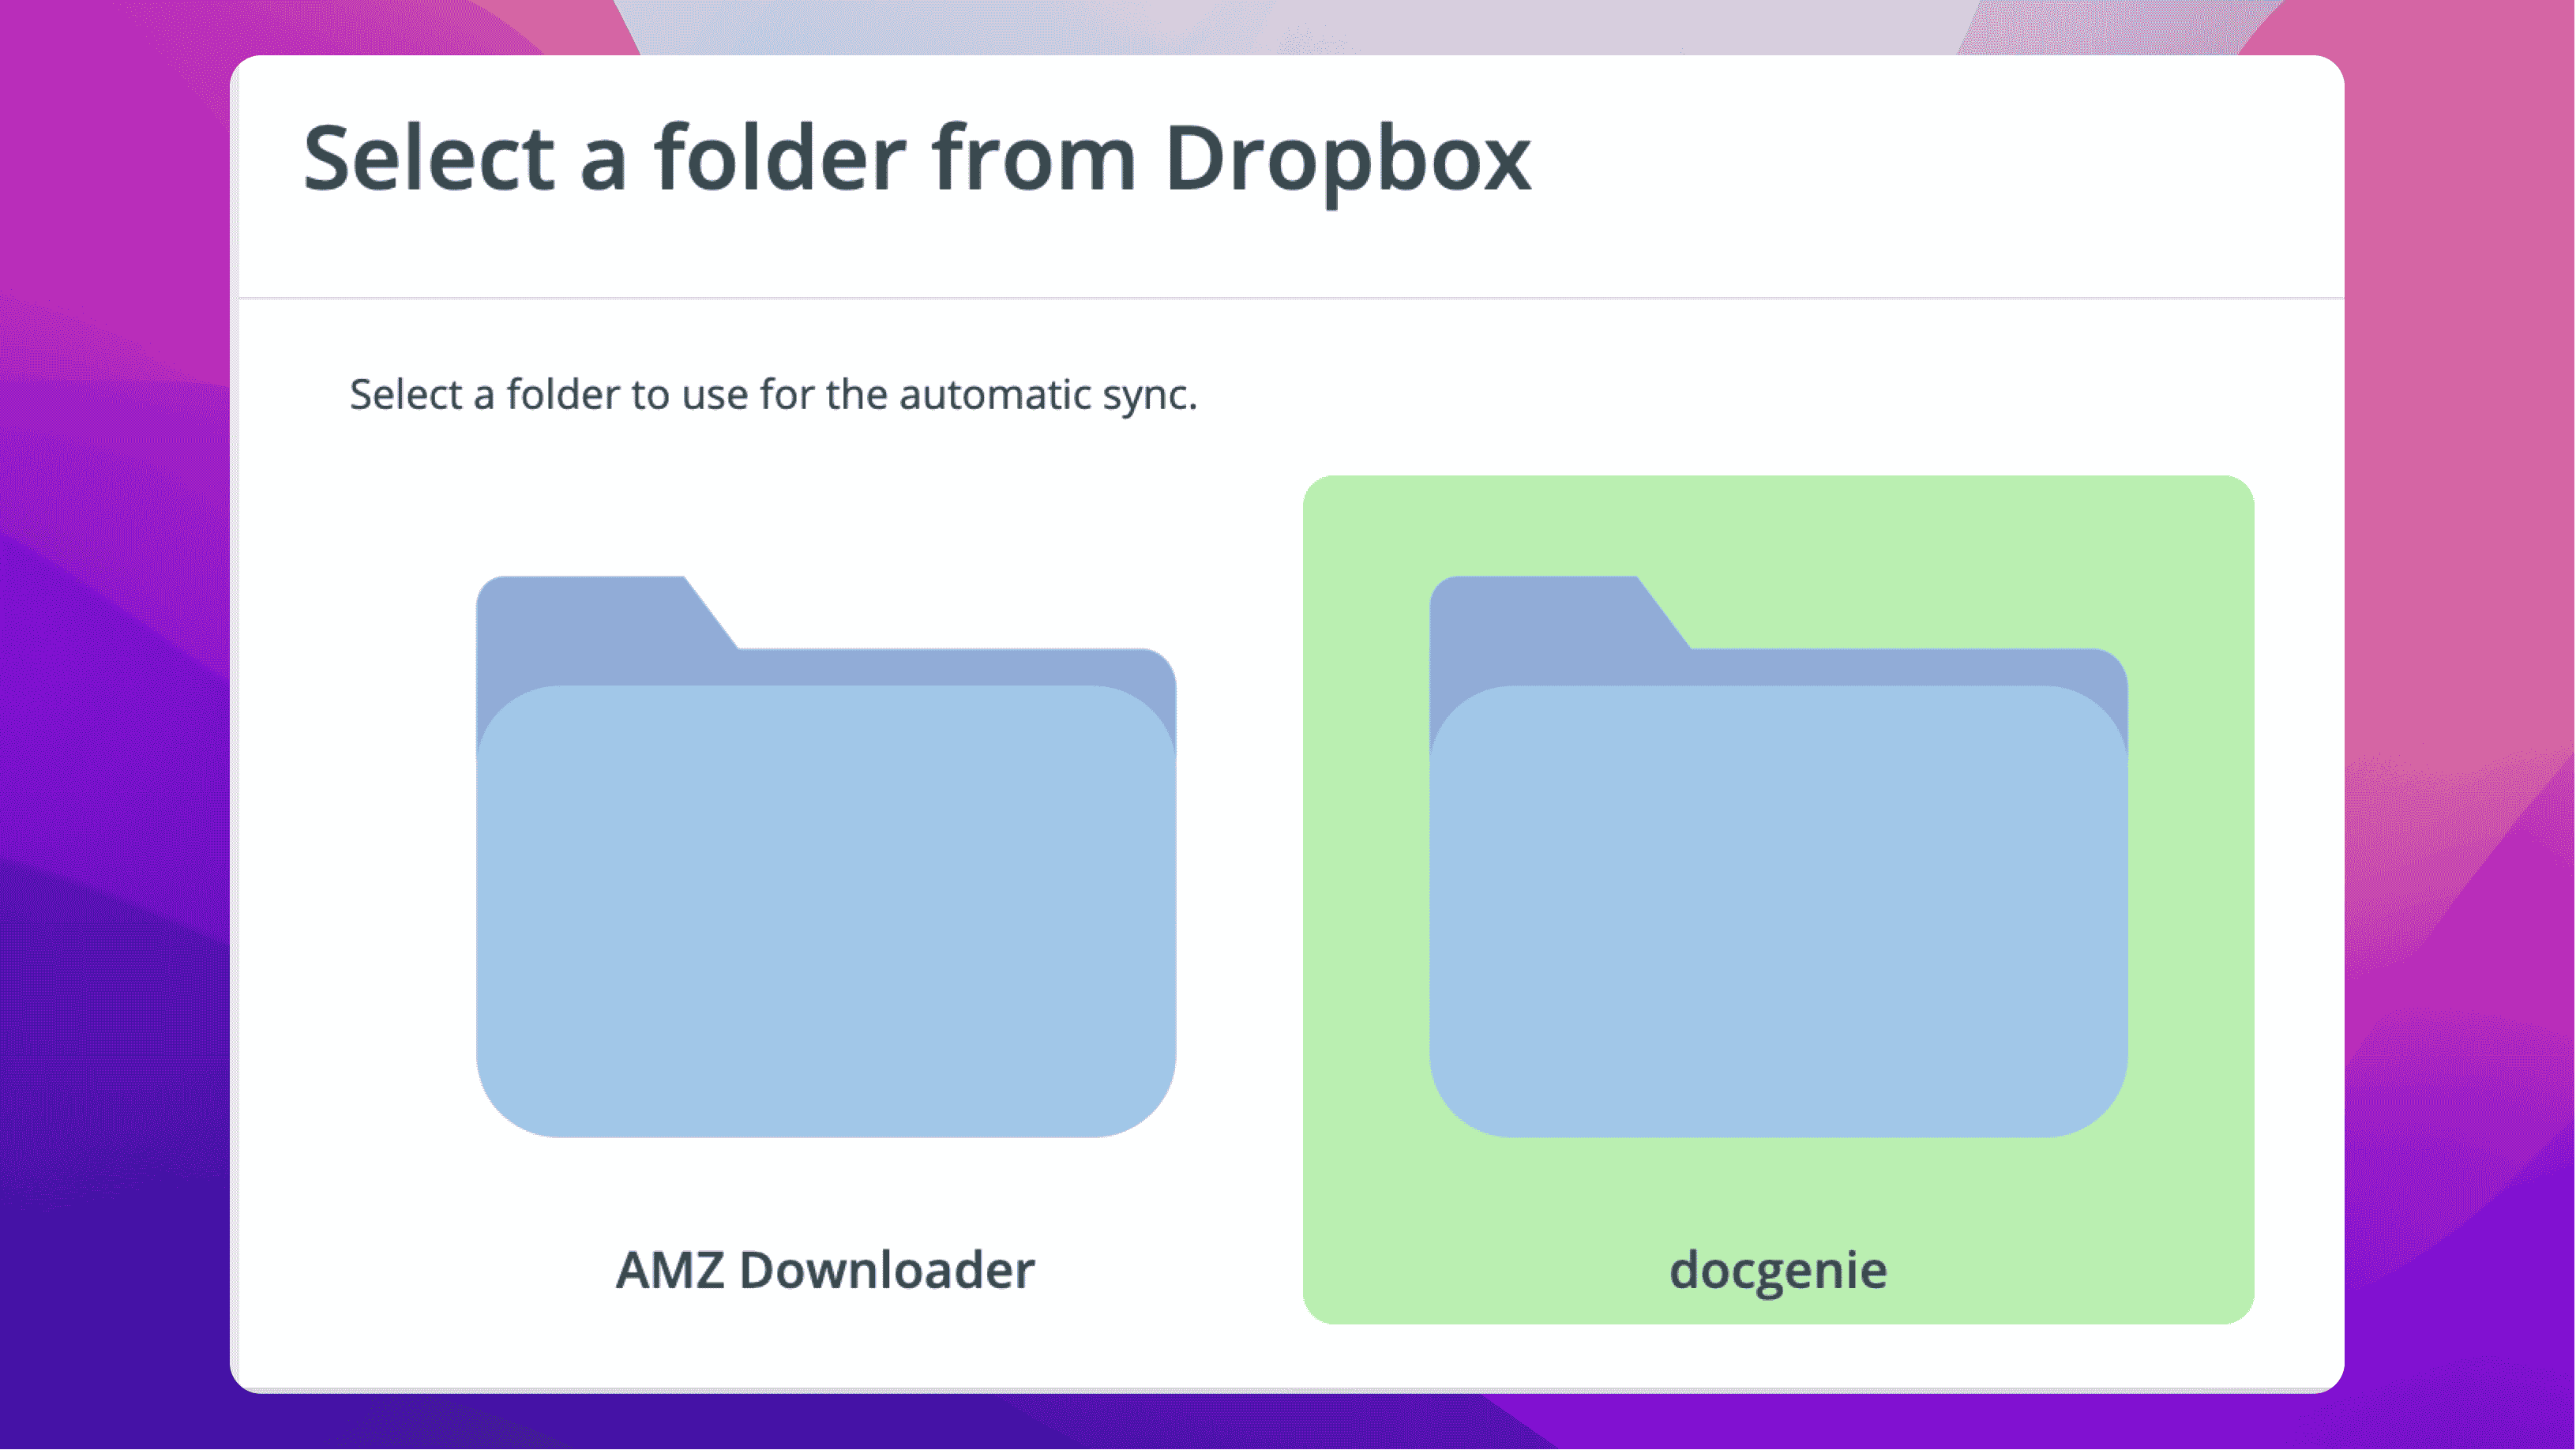
Step 4: Set Up Syncing
1. Choose a specific folder in your Dropbox where you’d like to save your Kindle Scribe notebooks.
 2. Create a syncing schedule that suits your needs. For instance:
- Daily syncs for frequent updates.
- Weekly syncs for less frequent backups.
- You can also specify whether to sync all files or just new ones

Step 5: Access Your Files on Kindle Scribe
Once the documents are synced, you can access them on your Kindle Scribe.